
Build Your Own Bag

Travel Sized
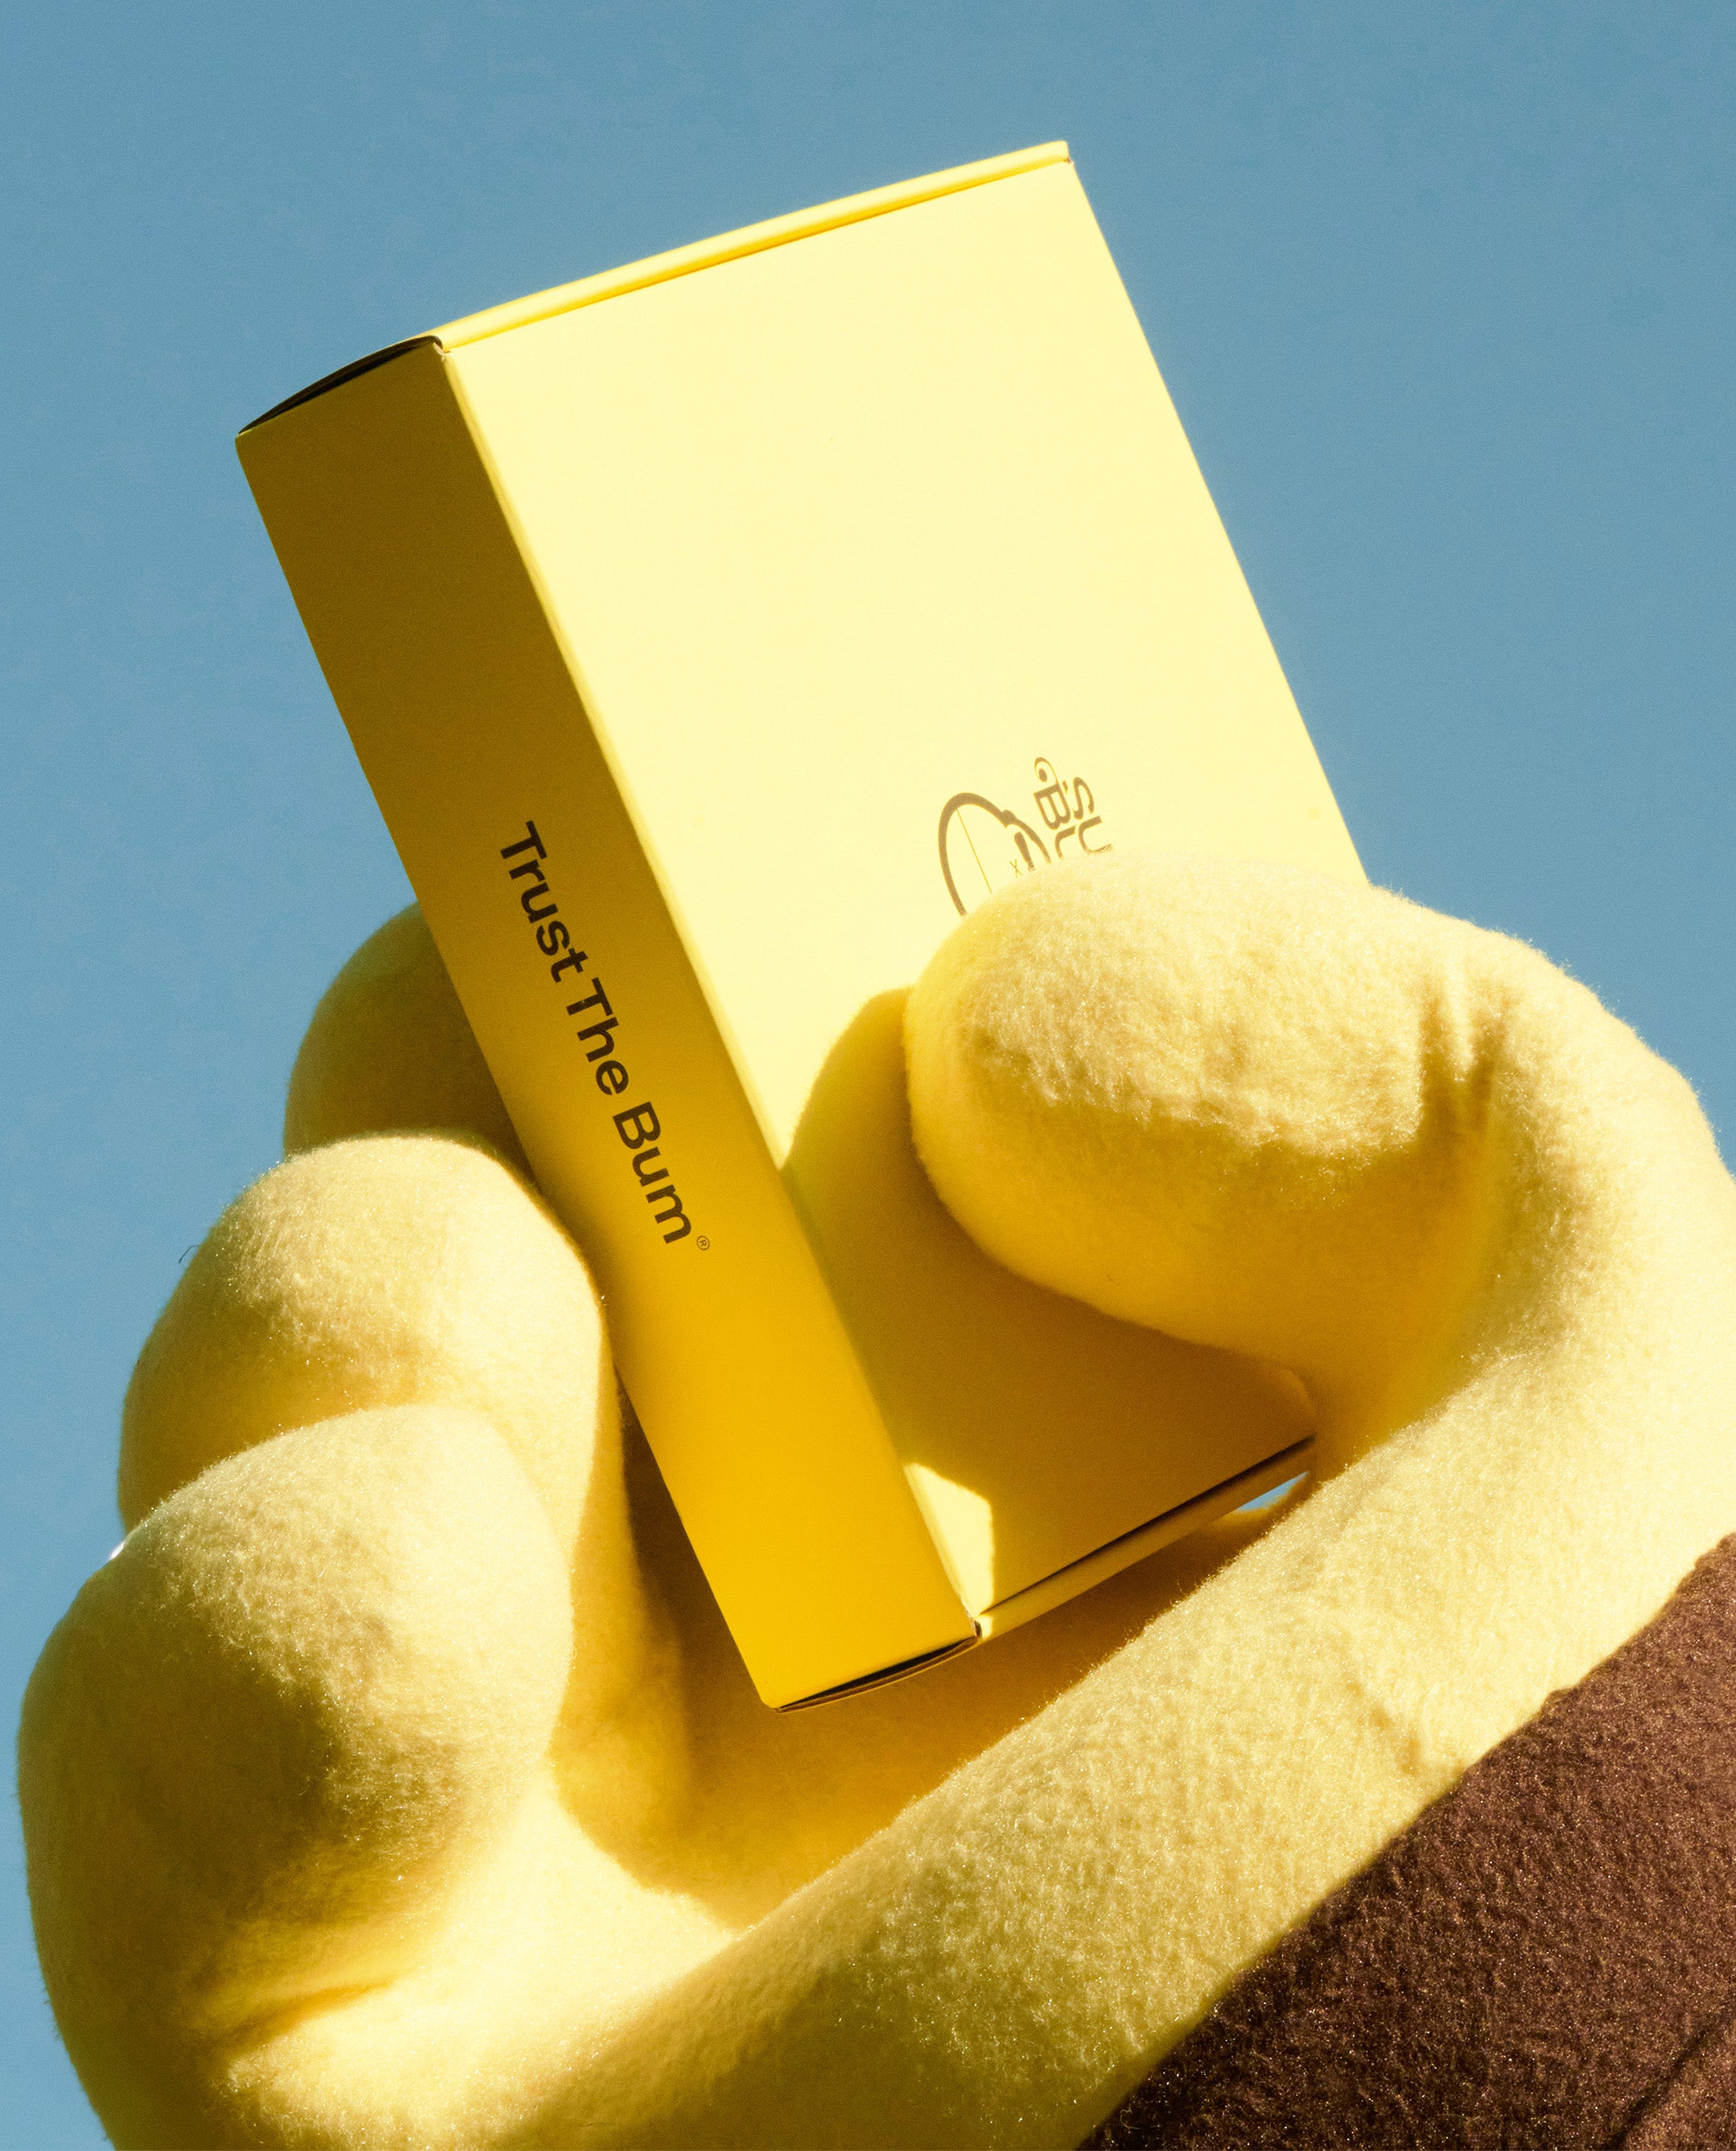
Set it & Get It

When it comes to protecting our surfboards, we don’t mess around. Even though we do our best to prevent dings and UV sun damage (which causes that nasty yellowing), a good surfboard bag can help make things a whole lot easier on us (and on our boards). There are a few options out there made with heavy-duty cushioning for long distance travel, but when it comes to a simple sleeve that keeps boards covered during our morning commute or weekend road trips up the coast, we just figured we’d make our own. Our girl Megan gave us the step-by-step breakdown on a surfboard bag she made recently by sewing together a couple of cool fabrics she found while thrifting around town. So, if you got a little free time on your hands this weekend and have some boards that look like they’re in need of a little extra shade, we got you (and them) covered.

DIY: Surfboard Bag
Oh, and before you get started, make sure to prep the fabric first! We found some canvas material to cover most of the board, and scored this fun floral print that we wanted to use for the nose—adding patterned fabric was just for fun, but you can make it all out of canvas if that’s more your vibe. To combine the two pieces, we sewed about 3 feet of the floral fabric to the top of our larger piece of canvas fabric.

Sew the two pieces of fabric together (from the inside out) and leave the bottom section open so that when you go to sew the pieces together, they don’t shift around.


Does SPF 30 vs. SPF 50 feel like choosing between green or red sauce on your burrito? We get it and we’ve got you. Here's what changes between the two and when to bump up.
Is 70 the new 50? When it comes to SPF, we love them both. From daily coverage in peak summer to all-out protection if your surf trip turns tropical (lucky you),if you’re comparing SPF 50 vs 70, or wondering does SPF 70 work better than 50, the answer comes down to how intense your sun exposure is.
We’re going for bronzed, not burned, and choosing between SPF 15 vs. SPF 30 can be the difference between the two. Here's what to know before you, ahem, reach for the bottle.
If SPF 30 is a 3/2 spring suit, SPF 70 is a 4/3 with booties and a hood. So, is SPF 70 better than SPF 30? Sometimes. It depends on how much sun you’re getting and how your skin handles it. Here's what changes between the two and when to suit up.
So, can you put sunscreen on a new tattoo? Short answer: no, not on a fresh one. After a tattoo, your skin is doing serious repair work and sunscreen isn't built for broken skin. The good news is there's a right way to protect your new piece while it heals and a simple routine to keep it looking good for a long time once it's healed.
So, is SPF 30 enough? For most people on most days, yes. SPF 30 blocks about 97% of UVB and is the daily minimum most dermatologists recommend, which makes it the easy everyday option and a great addition to your beach bag. Still, SPF isn’t one-size-fits-all, and if you’re accounting for for long beach days, intense UV, or skin that burns easily, you may want a higher level of protection. Here's when SPF 30 has you handled and when it's worth reaching for more.


